Delivering your design: 6 tips for the correct print file
You have a beautiful full-color label to be printed and want to deliver the print file to your printer. At Zolemba, you have complete freedom when it comes to the design and printing of your labels. This way, you can have exactly the labels you want printed. However, all these options in designs and die-cut shapes can also make it complicated. Translating your idea and design into an actual label can be quite challenging. Whether you have had a label designed or have worked on it yourself, there are always a number of important points to consider when delivering a file that is suitable for printing.
6 areas of focus for the correct print file
Ultimately, you want your label design to be printed exactly as you envision it. Consider the following aspects when delivering your print file:
1. The file format
2. The colors
3. Images
4. Bleed
5. Text
6. Die line
The file format
It is possible to deliver files in the following formats:
- 1. PDF
- 2. EPS
- 3. Ai (Adobe Illustrator: graphic design and layout software)
Unfortunately, JPG and JPEG are not suitable.
The colors
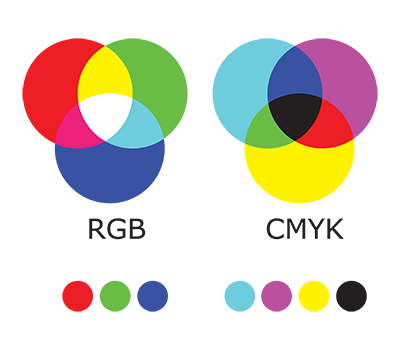
To ensure that the colors are printed correctly, the file must be created in CMYK. CMYK is a color coding system that can create (almost) all colors based on the four primary colors (Cyan, Magenta, Yellow, and blacK). Another color coding system is the RGB format. This system is based on the primary colors Red, Green, and Blue. It is used (as a basis) in the 'digital' world to determine colors on screens. When a print file is delivered in RGB, it is automatically converted to CMYK. However, this results in a slight (sometimes unavoidable) color difference in the print.
Images
You can use an image in your design. However, it is necessary that the image has the correct resolution quality. Only then can the image be printed clearly. The images should therefore have a resolution of at least 300 PPI (Pixels Per Inch).
Bleed
Your label design may have colors extending to the edges of the label or even be completely covered with a color. In such cases, we refer to this as a bleed design: the color effectively extends beyond the design. For a bleed design, make sure to extend the bleed color by at least 1 mm (beyond the label's size). This prevents an unprinted (white) edge around your label.
Text
We advise converting the text used in your label design to outlines. This can be done in Adobe Illustrator (InDesign) by selecting ‘Create Outlines’ under the ‘Type’ menu. This way, the letters are treated as images by the graphic software, so there will be no issues with the text during printing.

Die line
At Zolemba, the shape of your label is cut with a laser. This laser uses the so-called die line (cut line) indicated in the file. To create a die line, add an extra layer in Adobe with the name "Die Line." Then, indicate the desired final size/shape of the label with a line placed on the separate layer on top.
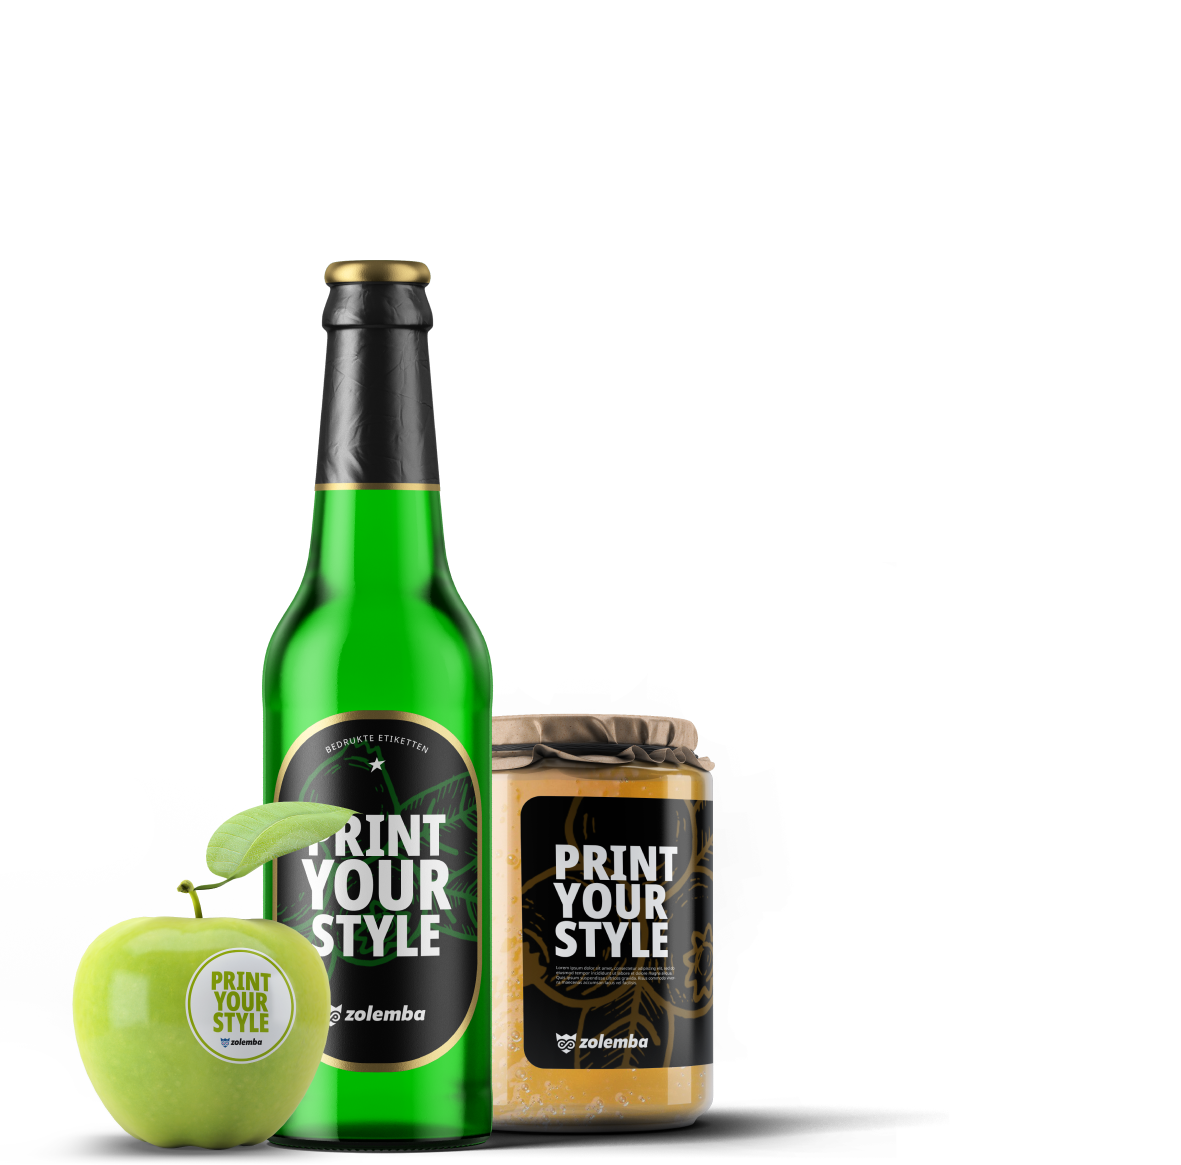
Your label design
Don't have the right software? Or do you have a print file that needs adjustments? At Zolemba, this is of course possible. Our DTP team is ready to assist you. Feel free to contact our staff and inquire about the conditions. We look forward to the label designs you want to have printed!
.png)
Exclusive Offers and Free Tips!
Stay informed and never miss out on offers, handy tips, or free templates.
Thank you! You have successfully subscribed to our newsletter.